
6 Super Easy Ways to Add Subtitles and Captions to Videos
Subtitles and captions are used to display text for videos. Although they look quite similar, they display different types of text. Subtitles show the text spoken by a character in a movie to aid understanding. Captions are used to display all sounds occurring in a movie, such as knocking, shouting, and phone ringing, catering to the needs of the hearing impaired. Depending on the user's needs, this article will introduce six tools to add subtitles or captions to videos.
1. Adding Subtitles and Captions with Windows Movie Maker
Windows Movie Maker is an easy-to-use yet powerful video creation and editing software application designed for the latest Windows 11 and Windows 7/8/10. The older version works for Windows XP and Vista. Windows Movie Maker includes features like effects, transitions, titles, audio tracks, timeline narration, and Auto Movie.
Windows Movie Maker is a video editing program created by Microsoft. It allows users to combine video, audio, still images, and recordings to create a personalized movie. Windows Movie Maker (WMM) was first introduced in Windows ME, commonly known as Windows 2000, the successor to Windows 98. It was launched on September 14, 2000. Movie Maker is part of the Windows Essentials suite and provides capabilities for creating, editing, and publishing videos on OneDrive, Facebook, Vimeo, YouTube, and Flickr.
New transition effects can be made, and existing ones can be modified using XML code. Windows Movie Maker is also a basic audio track editing program, capable of applying basic effects to audio tracks such as fade in and out. The audio tracks can then be exported as audio files instead of video files.
With Windows Movie Maker, you can quickly turn your photos and videos into polished movies. Add special effects, transitions, sound, and captions to help tell your story in a lively manner. Then, share your movie with friends and family!
Windows Movie Maker has always been one of the most popular software options for simple video editing. The software can combine video files, add audio and music to videos, apply video transition effects, create slideshows, and more.
This tool is quite easy to use. Here is how to add subtitles and captions to a video with Movie Maker:
Step 1: Download Windows Movie Maker if you don’t have it.
https://download.com.vn/download/windows-movie-maker-windows-xp-7726?linkid=20052
Step 2: Open Movie Maker and load your video.
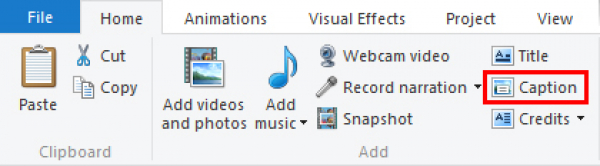
Step 3: Click on the Home tab and select Caption.
Step 4: Windows Movie Maker will add a special window to input text for the video.
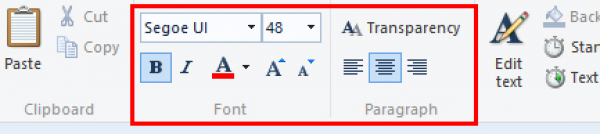
Step 5: Edit the caption if needed.
Step 6: Save the video to apply the changes.
This is a convenient and simple software providing a multifunctional text editor, allowing you to change the text position, font, and size. Additionally, you can choose text transition effects and make the text appear in an unusual way.
2. Adding Subtitles and Captions with YouTube Editor
YouTube offers several ways to add subtitles, captions, and text to videos. This text can include annotations, speech bubbles, or captions.
Step 1: Sign up for a YouTube account with your Google account.
Step 2: Upload your video to YouTube.
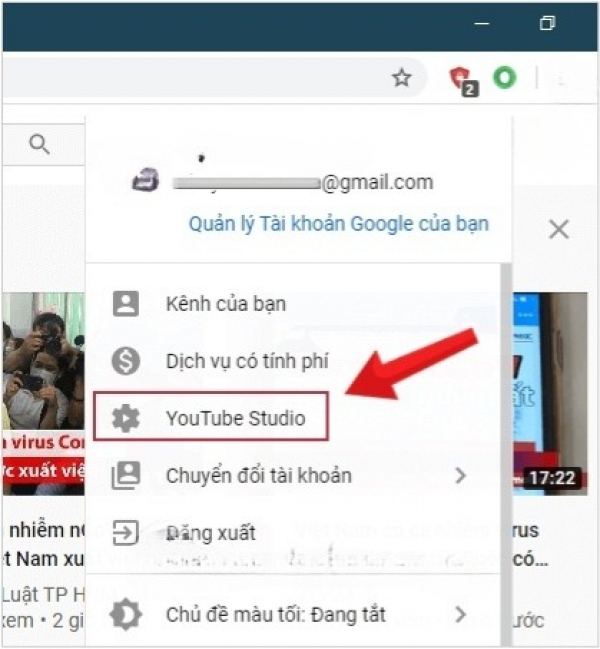
Step 3: Once uploaded, open the Video Manager by clicking on your account icon at the top right > Creator Studio > Video Manager > Videos.
If you don't see Creator Studio, go to YouTube Studio, select the classic version of Creator Studio at the bottom of the left menu, and then select Video Manager > Videos.
Step 4: Next to the video you want to add subtitles to, click the drop-down menu next to the Edit button and select Subtitles.

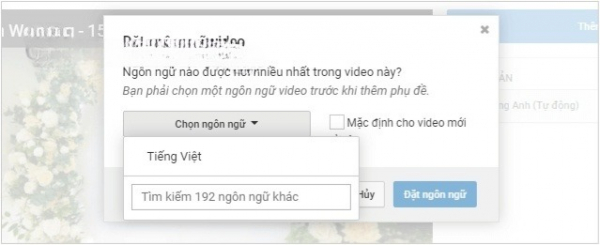
If you haven't selected a primary language for the video, you'll be prompted to do so. Choose one language from approximately 192 options.
After selecting, click the Add new subtitles or CC button and choose how you want to add or edit subtitles for your video:
- Upload a file: This file contains both the text and the time codes for when the text should appear in the video.
- Transcribe and auto-sync: Type out everything said in the video and let YouTube set the timing.
- Create new subtitles or CC: Create subtitles manually with specific time codes in the video.
- Use auto-generated subtitles: These are generated by YouTube, often for spoken content like lyrics.

Step 5: When finished, click Save changes.
It's very simple and easy to do!
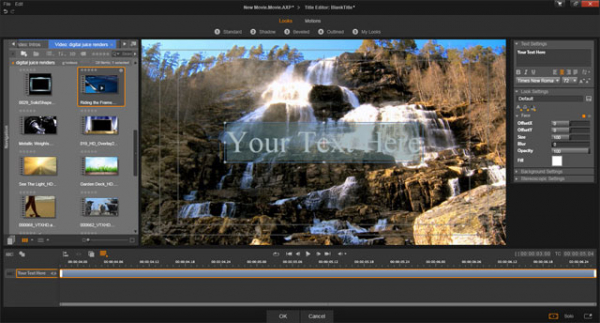
3. Adding Subtitles and Captions with Pinnacle Studio
https://download.com.vn/pinnacle-studio-56139
Pinnacle Studio is a rather complex video editing software that allows users to add captions to movies similarly to Windows Movie Maker.
Pinnacle Studio is a user-friendly video editing program suitable for both beginners and intermediate users. As a leading project by Corel, this comprehensive video editor features advanced tools and a simple interface. Interested editors can choose from three packages: Pinnacle Studio Basic, Ultimate, and Pro. Beginners will appreciate the user-friendly interface of Pinnacle Studio Basic, which is well-organized, efficient, modern, and simple.
Some features editors will love include split-screen video and an intuitive user interface. Multi-camera and multi-track video editing are included, along with morph transitions, paint effects, and 360-degree video editing. Other features of the program include wide-angle lens correction, NewBlue effects, and a 3D title editor.
The interface is designed to streamline all editing processes and provide quick access to tools. Users can also streamline their workflow by adjusting editing parameters.
In addition to basic organizing, editing, and exporting tools, Pinnacle Studio offers a range of professional-level editing tools. These include multi-camera editing, split-screen editing, 360-degree video editing, and 4K compatibility. This provides editors with the flexibility to create unique workflows, whether importing, organizing, or building perfect projects from media clips. Raw footage can be easily transformed into finely polished videos ready to share with friends and family.
To add text to a video using Pinnacle Studio, follow these simple steps:
Step 1: Download Pinnacle Studio.
https://www.telestream.net/captioning/overview.htm
Step 2: Add the video to Pinnacle Studio.
Step 3: Select Titles.
Step 4: Choose the type and position of the title, and place it on the editing timeline.
Pinnacle Studio is a smart software with many text editing options. However, it is quite heavy and not free, though there is a 30-day trial version.
4. Adding Subtitles and Captions with CaptionMaker
CaptionMaker is another tool that helps create subtitles and captions on Windows and Mac. The software is not free, but a demo version is available. You can download it and try its features before deciding to use it. CaptionMaker is highly customizable, allowing users to change fonts, background colors, number of lines, position, and many other features.
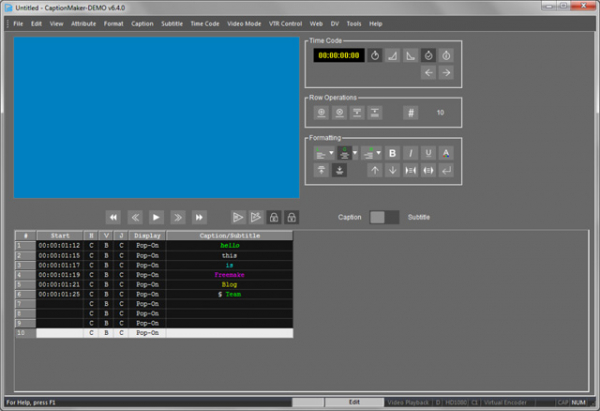
To add captions with CaptionMaker:
Step 1: Download CaptionMaker for PC or Mac.
Step 2: Run the software on your PC or Mac.
Step 3: Import the video file via File > Open Movie.
Step 4: Set the necessary time codes for the captions.
Step 5: Enter the text in the Caption/Subtitle field.
Step 6: Select the style for the subtitles or captions (font, position, etc.)
Step 7: When finished, click File > Save to save the video with subtitles or captions.
CaptionMaker is a great tool if you want professional-looking captions.
5. Adding Subtitles and Captions with Aegisub
Aegisub is a cross-platform text editing software like Notepad, which allows creating subtitles and captions with just a few clicks. The software has an integrated video player, so there's no need to open the video in a separate player.
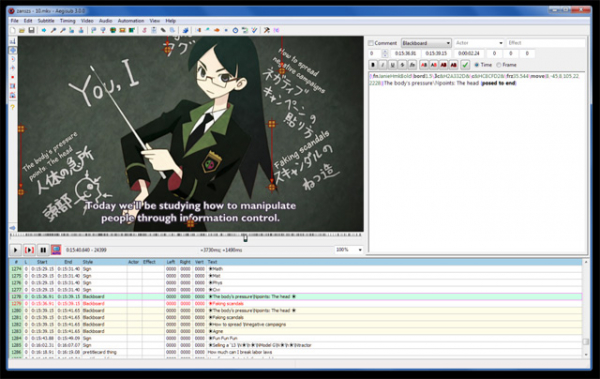
To add subtitles or captions to a video using Aegisub, read the guide How to Create Subtitles for Videos Using Aegisub.
6. Adding Subtitles and Captions with Google Drive
Google Drive is well-known as a cloud service that can store data and provide access to it from any device, anywhere in the world. Few users know that Google Drive can also help add subtitles to videos. It's easy and completely free. Here’s how you can add subtitles or captions with Google Drive:
Step 1: Log in or sign up at drive.google.com.
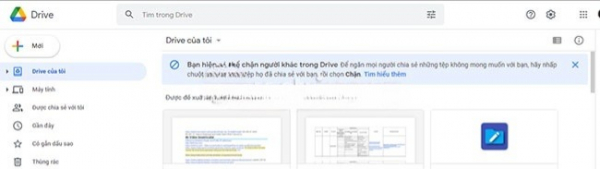
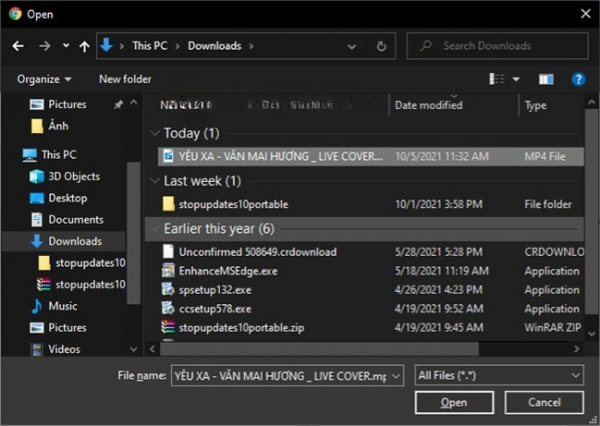
Step 2: Click New > File upload ...
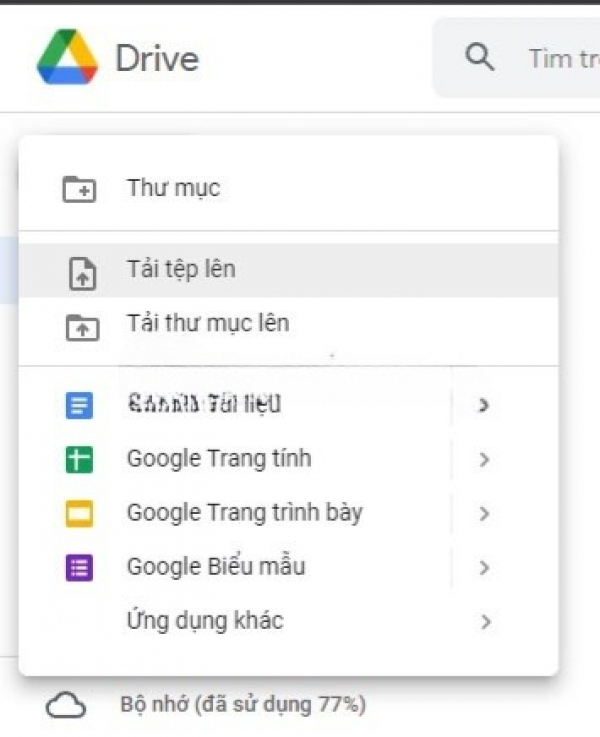
... and select the video you want to add subtitles to.
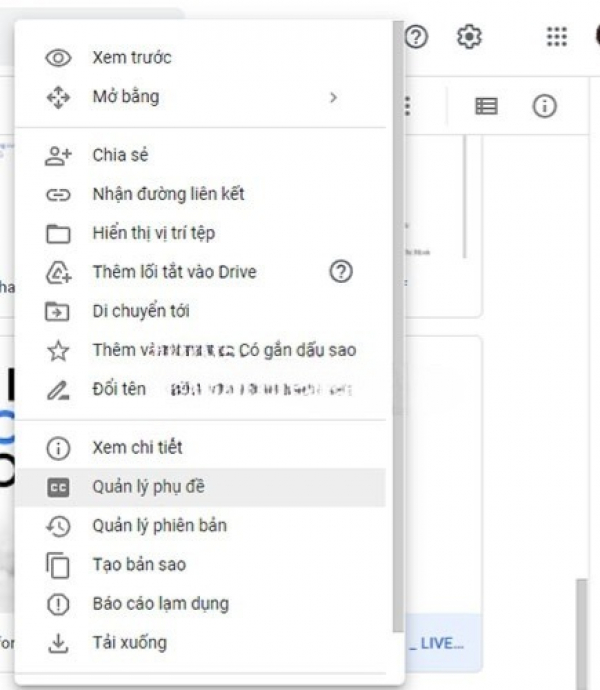
Step 3: Once the video appears in your Google Drive, right-click on the file and select Manage captions.
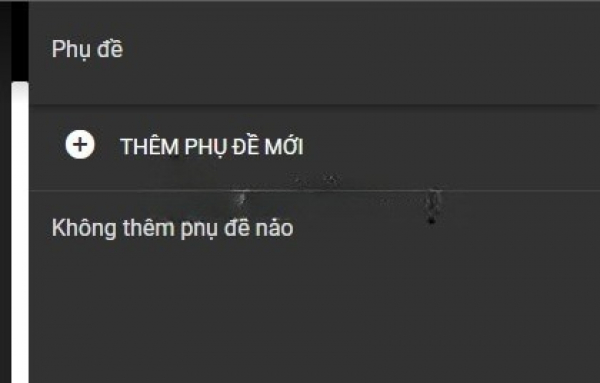
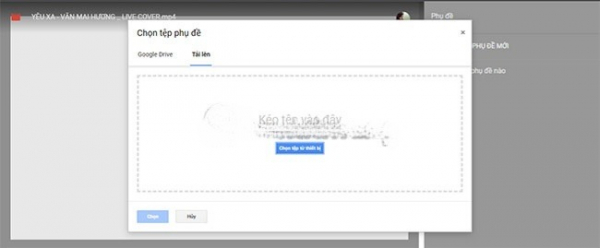
Step 4: Now, click the Add new caption track option.
Step 5: Select the subtitle file in SRT format.
Step 6: Choose the language of the new subtitle and enter a title for the subtitle track.
Step 7: Click Upload to add the subtitles to the video.
This is a convenient and simple service that provides an option to add subtitles. If you want to turn off the subtitles, simply right-click on the file, select Manage captions, find the added subtitle, click the three vertical dots next to the subtitle, and click Delete to turn it off.
If you encounter an error when adding subtitles to a video on Google Drive, Google suggests three possible solutions:
- Ensure the subtitle file is in SubRip (*.SRT) or SubViewer (*.SUB) format.
- Make sure the subtitle file is not larger than 2MB.
- Ensure the subtitles do not extend beyond the length of the video (this can cause auto-sync issues).
Note that video subtitles on Google Drive have the same sharing settings as the video they belong to. This means that anyone with edit access to the video will be able to upload, download, and edit your video subtitles.