
How to find hidden files in MacBook?
If you often lend your MacBook to others but don't want them to see sensitive files on your computer, check out the methods below to hide and view hidden files on your device!
The device used in this tutorial is a MacBook Pro 13" 2017, macOS Big Sur 11.4 version. Other MacBook devices or software versions may have some variations in the steps.
Note: Some system files are hidden by Apple, so be cautious when moving, editing, or deleting these files. Doing so may affect your device's performance.
How to Show Hidden Files and Folders on a MacBook
1. Using Keyboard Shortcuts
a. Enable Hidden Files/Folders
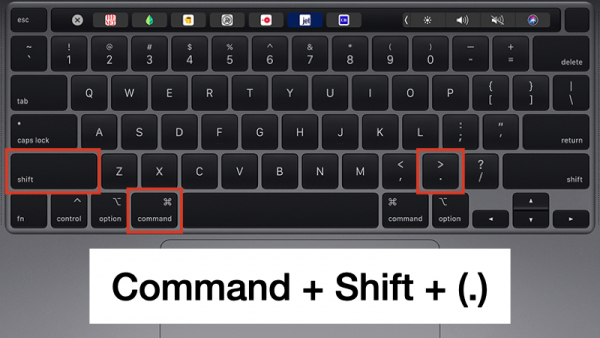
Go to the folder containing hidden files, then press `Command + Shift + (.)` to show all files.
b. Disable Hidden Files/Folders
Repeat the `Command + Shift + (.)` shortcut to hide the shown files.
2. Using Terminal
a. Enable Hidden Files/Folders
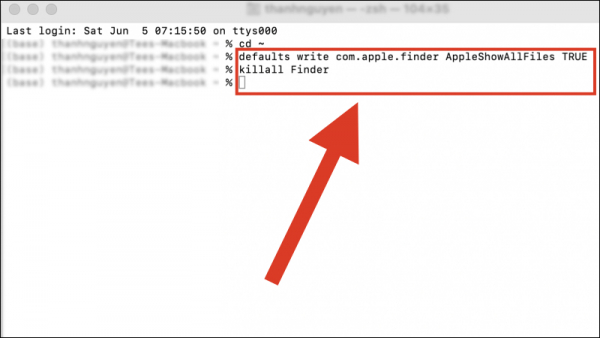
Open Terminal > Type `defaults write com.apple.finder AppleShowAllFiles TRUE` > Press Return/Enter > Type `killall Finder` > Press Return/Enter.
b. Disable Hidden Files/Folders
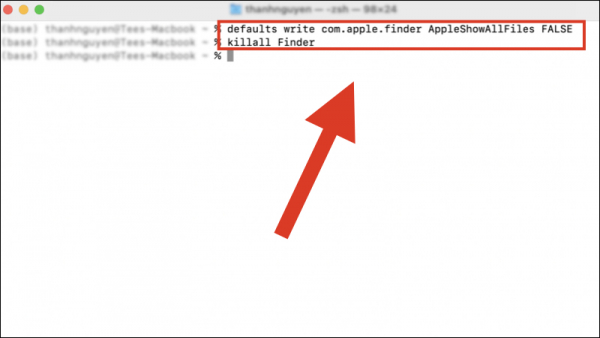
Open Terminal > Type `defaults write com.apple.finder AppleShowAllFiles FALSE` > Press Return/Enter > Type `killall Finder` > Press Return/Enter.
3. Viewing Hidden Files with File Manager
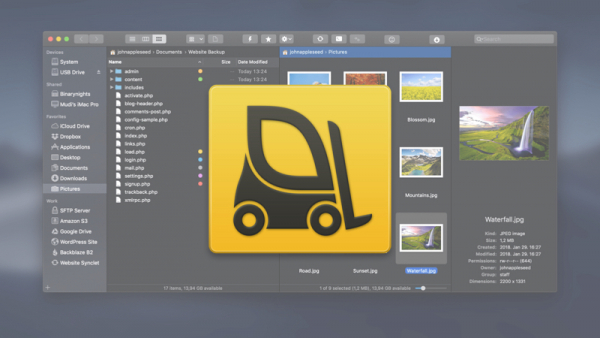
To use this trick, you need a file manager called Forklift.
Note: The license fee for personal use is $29.95, for family use is $49.95. You can also use Setapp, which integrates over 200 different apps, including Forklift, for $9.99/month.
a. Enable Hidden Files/Folders
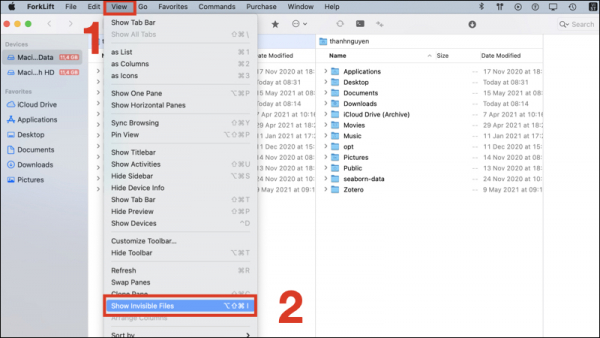
Note: All actions are performed within the Forklift app, not using Finder.
Open Forklift > Navigate to the parent folder containing the hidden files/folders > Click View > Select Show Invisible Files.
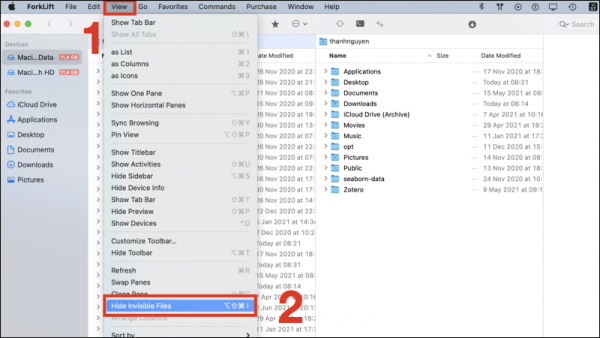
b. Disable Hidden Files/Folders
Open Forklift > Navigate to the folder showing the files > Click View > Select Hide Invisible Files.
4. Viewing the Hidden Library Folder via Finder
The Library folder contains user account settings, application support files, and cache. Modifying these files can affect your Mac's performance.
However, if you need to edit files in the Library folder, here are two ways to do it:
Method 1: Click the desktop > Press the Go button in the toolbar > Hold the Option key to show the option to access the Library folder.
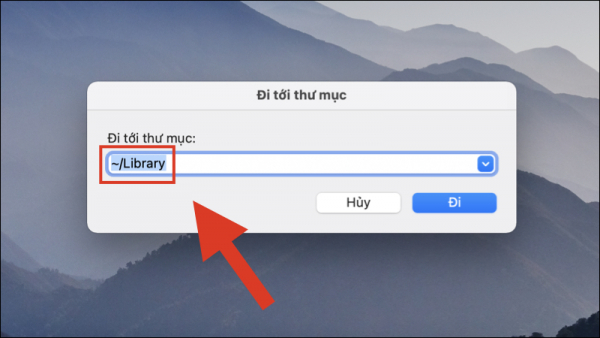
Method 2: Click the desktop > Press `Command + Shift + G` > Type `~/Library` > Press Return/Enter.
How to Hide Files and Folders on a MacBook
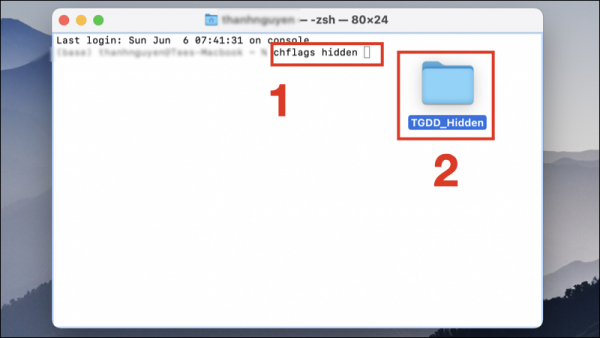
To hide files or folders on a MacBook, use the Terminal available on macOS. Here are the steps:
Open Terminal > Type `chflags hidden ` (with a space) > Drag and drop the file/folder into the Terminal window > Press Return/Enter.
How to Unhide Files and Folders on a MacBook
Similarly, use Terminal to unhide files and folders. Here are the steps:
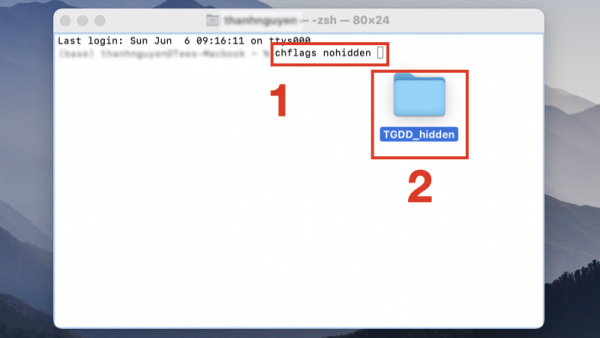
Open Terminal > Type `chflags nohidden ` (with a space) > Go to the parent folder containing the hidden file/folder > Drag and drop the file/folder into the Terminal window > Press Return/Enter.
These are the methods to show and hide files on a MacBook that not everyone knows. We hope this article is helpful for you. Thank you for reading, and see you in other articles!