
The reason why the laptop battery not charging and how to fix it
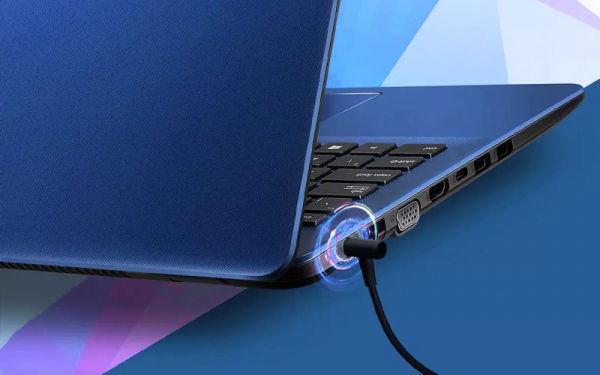
If your laptop is not charging or displays the error "Plugged in, not charging," it can greatly impact and hinder your usage. The following article will explain why this happens and guide you on how to fix the laptop not charging issue simply and effectively.
Why is the laptop not charging?
The situation of the laptop charging but not increasing the battery level can stem from several common causes:
- The charging device (charger or charging cable) is damaged and cannot connect to the laptop.
- The charging port is loose or too dirty, leading to an unstable connection.
- The laptop battery is worn out or damaged due to old age or improper use.
- Missing or outdated drivers that have not been updated are also a common cause.
- The laptop is overheating, preventing it from charging.
- Hardware faults or issues caused by malware or viruses.
Signs that the laptop is not charging
You can easily recognize this situation through the indicator light on the laptop body. The indicator light will be on if the laptop is charging and off if it is not.
Additionally, the battery icon on the computer's taskbar screen will show whether the laptop is charging.
Or, when charging, if you press the power button but the laptop screen does not display and the laptop shows no signs of activity.
If the laptop shuts down suddenly while charging and does not turn back on (even though the charger and cable are still plugged in), this is also a sign that the laptop is not charging.
How to fix a laptop that is not charging
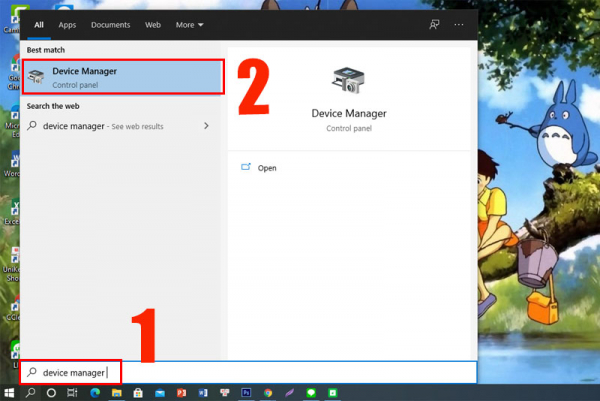
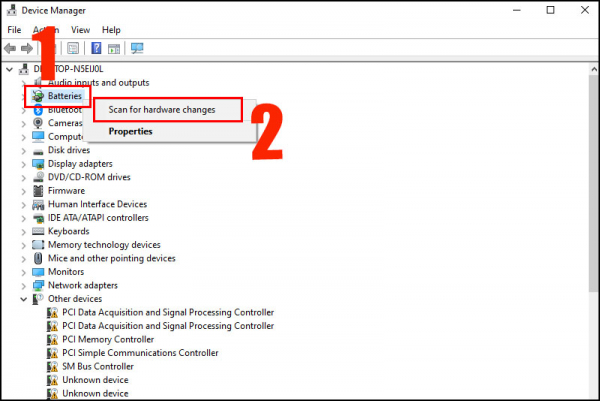
1. Check the Battery Driver
Step 1: Click the Search icon > Type Device Manager into the search box > Press Enter.
Step 2: Select Batteries > Right-click on Microsoft ACPI-Compliant Control Method Battery > Select Uninstall device.
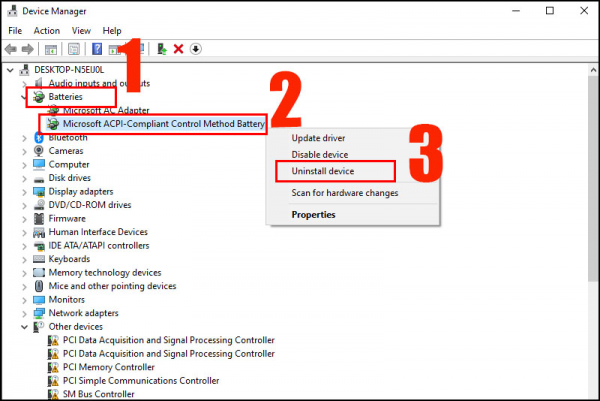
Step 3: Click Uninstall to remove the driver.
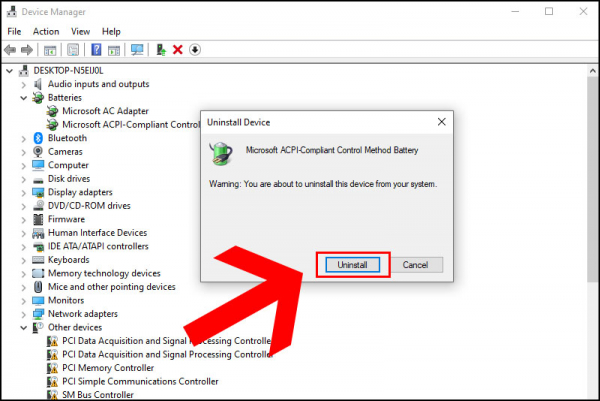
Step 4: Reinstall the Microsoft ACPI-Compliant Control Method Battery device.
Right-click on Batteries > Select Scan for hardware changes or restart your computer, and the driver will be automatically reinstalled.
2. Check the power source
The laptop not charging may also be due to the power source.
Make sure your laptop is plugged into a stable power source, and check if the electrical outlet and plug are securely connected.
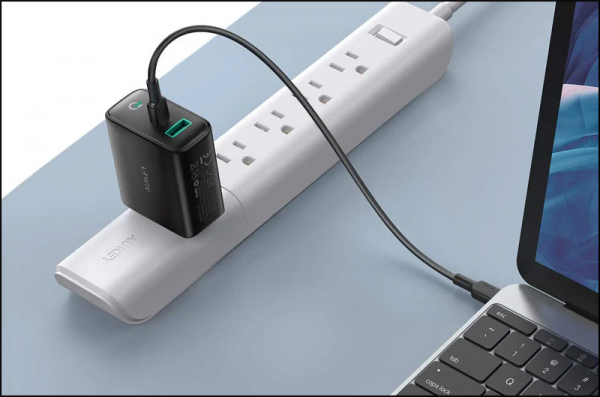
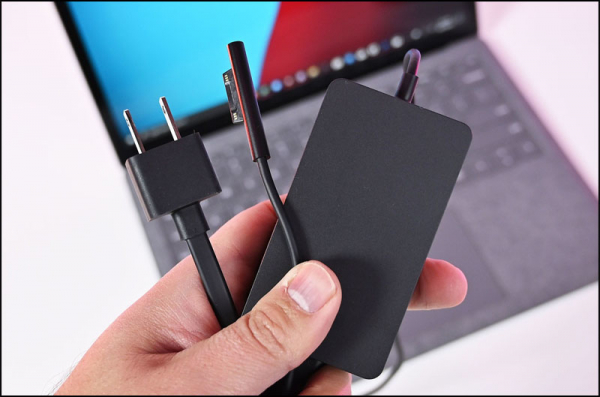
3. Check the charging cable
Use your hands to check along the cable to see if it is broken internally. If you have the tools, you can check the continuity of the charging cable or disassemble the adapter for a more thorough inspection.
Additionally, if there is a burning smell coming from the charging cable, it might be damaged.
4. Replace the laptop charger
You can replace the laptop charger to fix the charging issue. The best choice is the charger provided by the original equipment manufacturer.
5. Check the connection between the charging cable and the connector
Clean both inside and outside of the jack before recharging the laptop.
In some cases, the jack may be damaged internally. In this situation, you need to visit a warranty and repair center for assistance.
6. Check the laptop temperature
To solve this issue, you can use a cooling fan for the laptop and let the laptop rest, avoiding placing it in areas with poor heat dissipation like beds, blankets, and pillows.
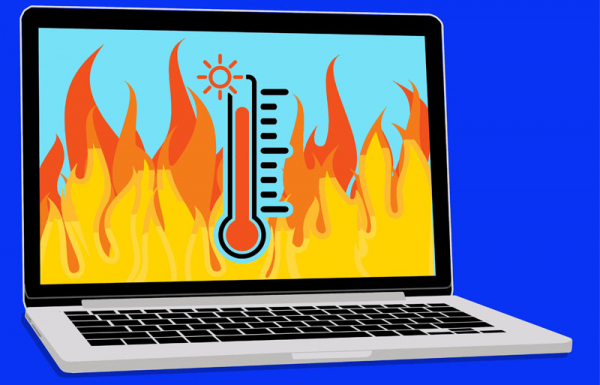
Moreover, you should check the laptop temperature and clean it regularly to help it run more efficiently.
7. Contact warranty and repair centers
If you have tried the above methods and still cannot fix the laptop charging issue, you should visit a warranty and repair center for support.
Technicians will accurately diagnose the cause of the problem and provide the correct solution.
This article has provided you with solutions to fix the laptop not charging issue. Hopefully, it brings you useful information, and see you in the next articles!