
How to Add Music to a Video on Windows 10
Windows 10 comes with a built-in video and photo editor on your computer with simple adjustments, allowing you to handle videos without needing video or photo editing software. With the Photos app on Windows 10, you can trim videos, add titles, apply color filters, and even add music to videos without additional software. Your videos will be refreshed and more engaging with added content and details. The following guide will show you how to edit videos using the Photos app on Windows 10.
Simple Video Editing with the Photos App on Windows 10
1. Add Music to a Video on Windows 10
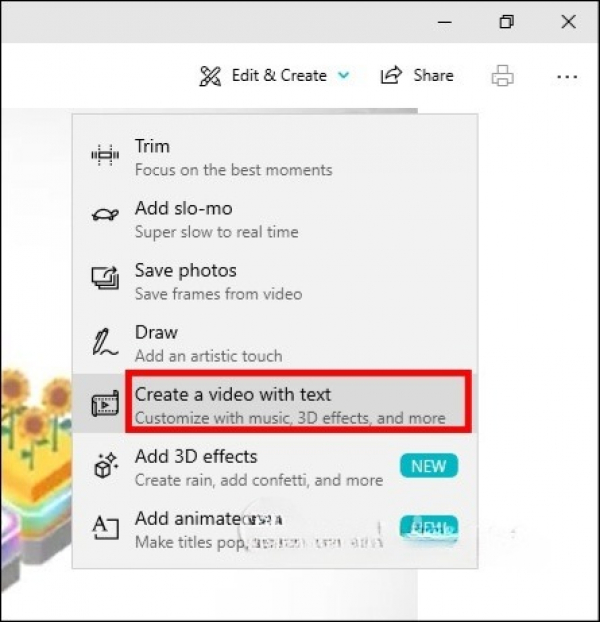
Open the video on your computer using the Photos app by right-clicking, selecting Open with, and then choosing Photos. In the editing interface, click on Edit & Create to display video editing options. To expand the editing interface, click Create a video with text.
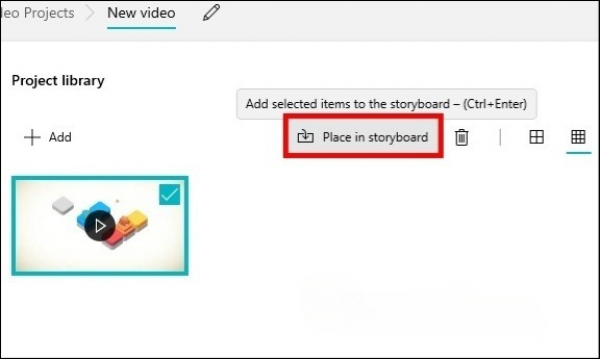
Next, to edit the video, you need to place the video in the Storyboard by clicking the video in the Project library and selecting Place into storyboard.
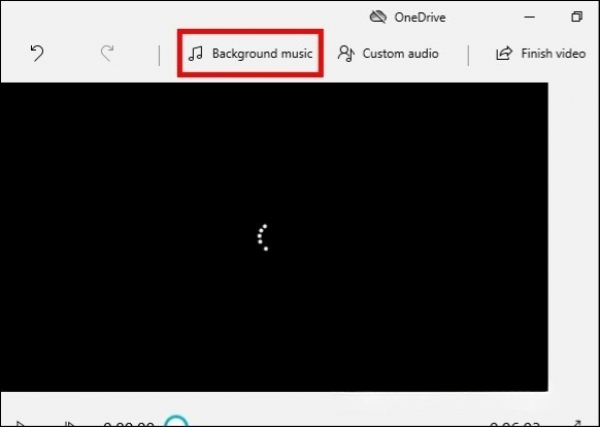
Step 1: In the interface, click Background music if you want to use the app's built-in background music.
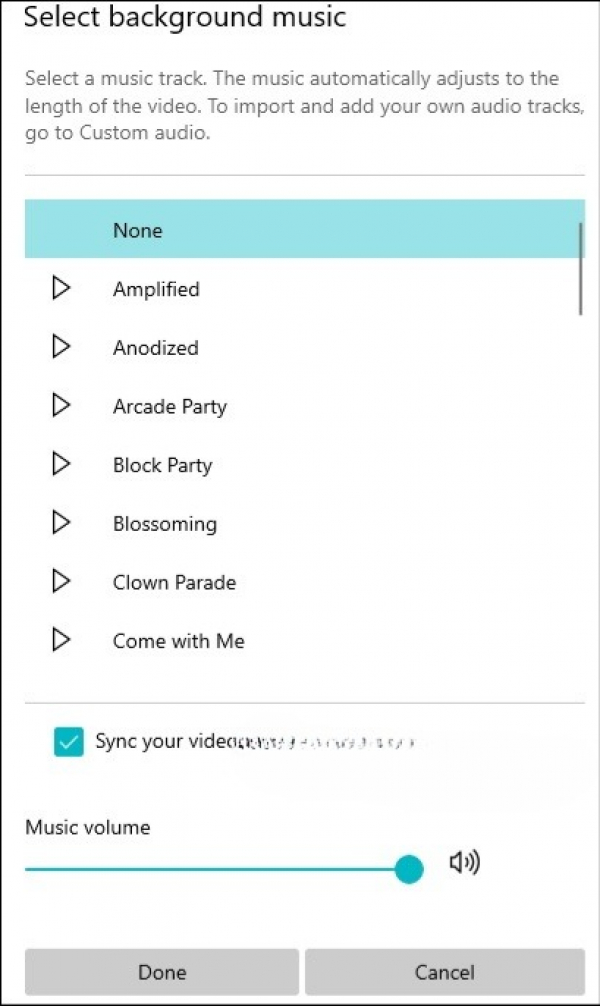
Step 2: The available background music options will appear. Click the play icon to preview the tracks. Below, you can adjust the music volume level using the Music volume slider.
The app has a feature to sync your video's beats with the music by selecting Sync your video to the music’s beat.
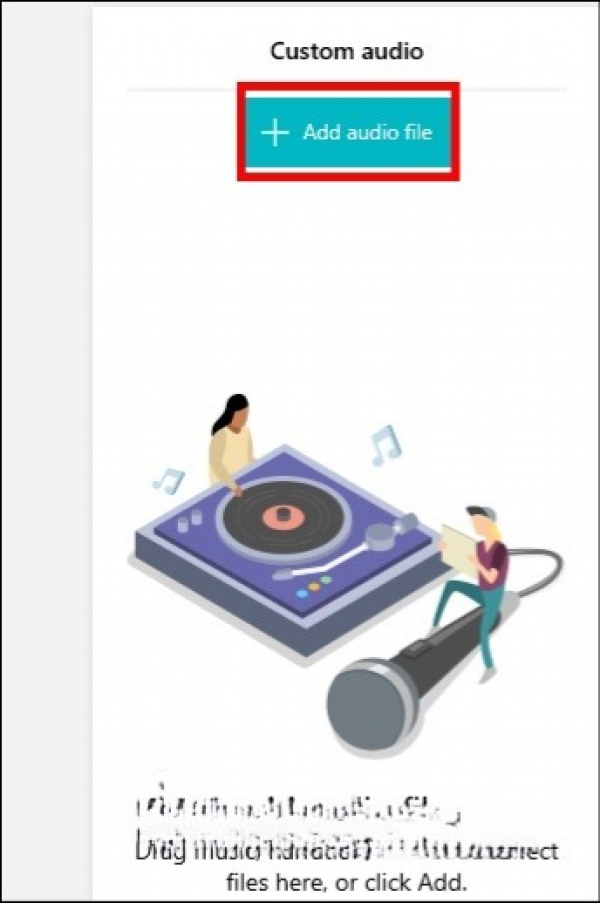
Step 3: If you want to use your own music, click Custom Audio. This opens an interface to add music; click Add audio file.
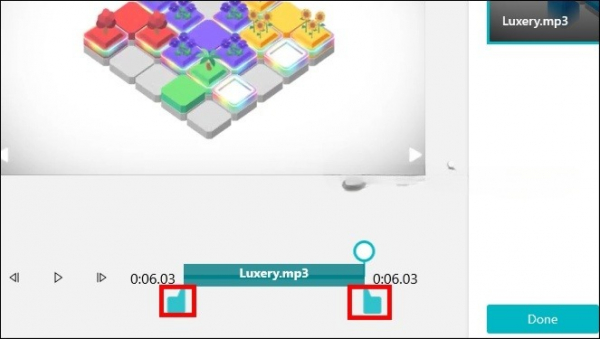
The music will be added to the video. To set the starting position or play only a segment of the music, adjust the ends of the green music playback bar. Click Done to save the audio segment.
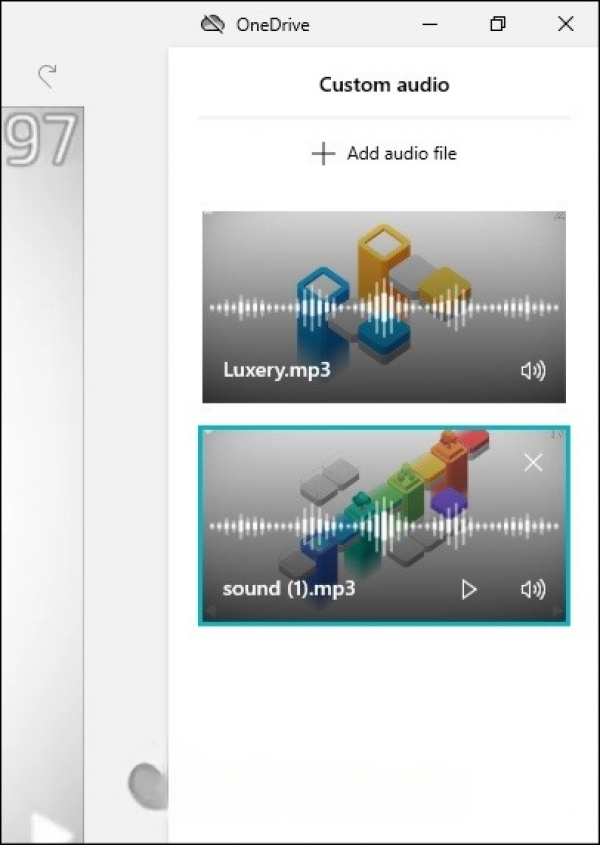
You can add multiple audio files or effects to the video and adjust their play positions. Each added audio file will be listed, allowing you to delete them as needed.
2. Add a Title to the Video
To add a title, look at the Storyboard and click Add title card. A title box will immediately appear below. You can change the title box's position by clicking and dragging it.
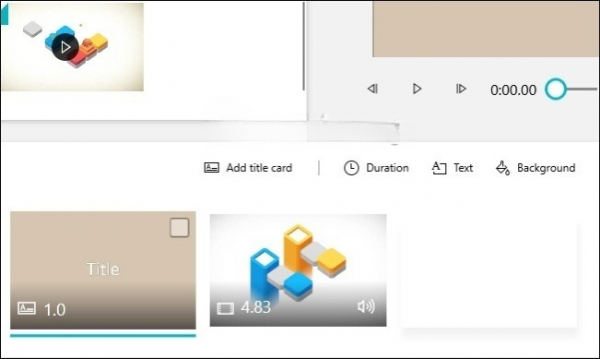
When you click the title box, options to write text, change the background color, and set the display time will appear. Use the title writing interface shown below and click Done to save.
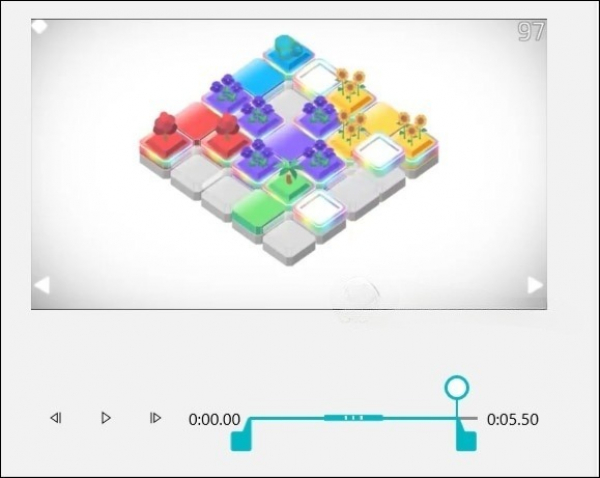
3. Trim a Video in Photos
To trim the video, click Trim. The trimming interface will appear, allowing you to adjust the start and end points using the blue bar icons.
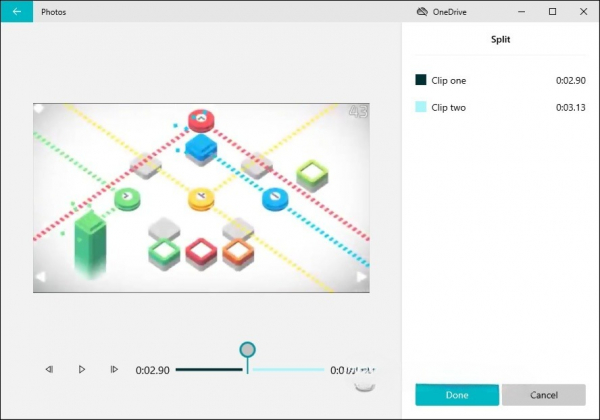
4. Split a Video in Photos
In the Storyboard, click Split to divide the video into smaller segments. Select the time to split the video. The right side will display the timeline for each segment.
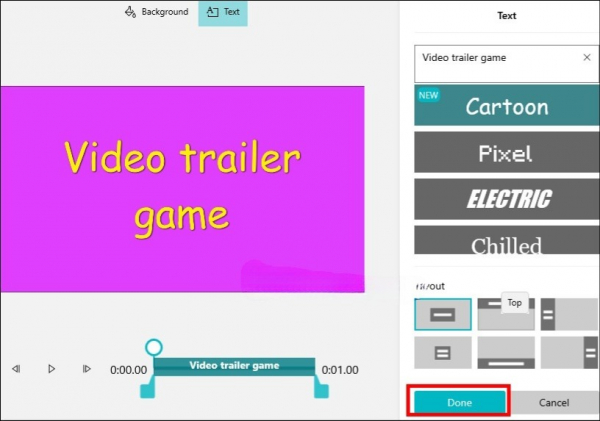
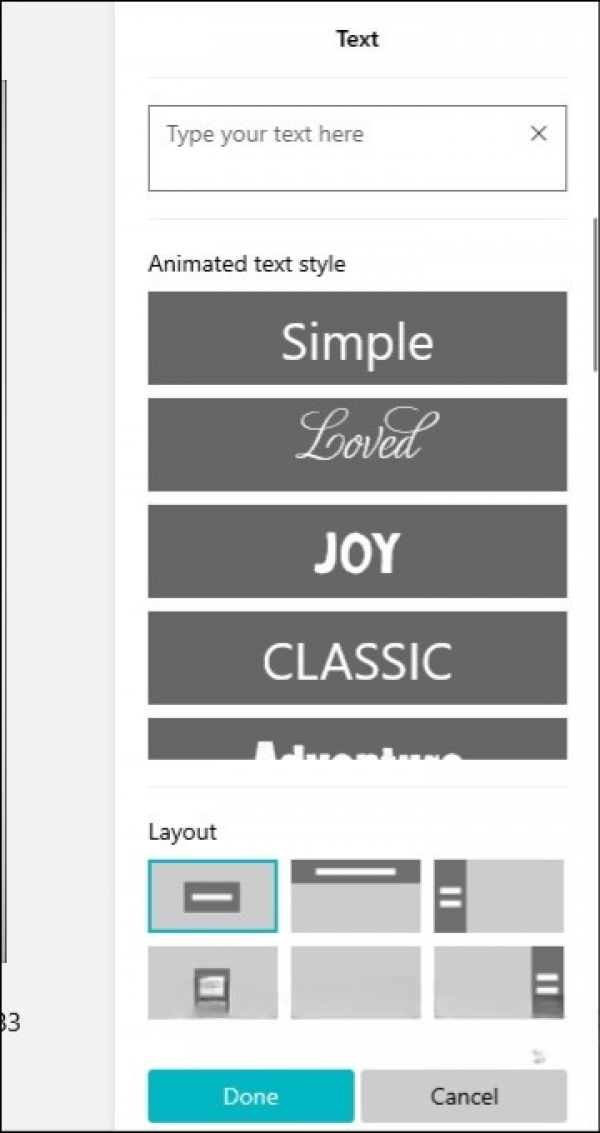
5. Add Text to the Video
Click Text to add text to the video. In the text interface, first select the display time for the text using the circular marker icon. Then, on the right side, choose the font and the text's position in the video.
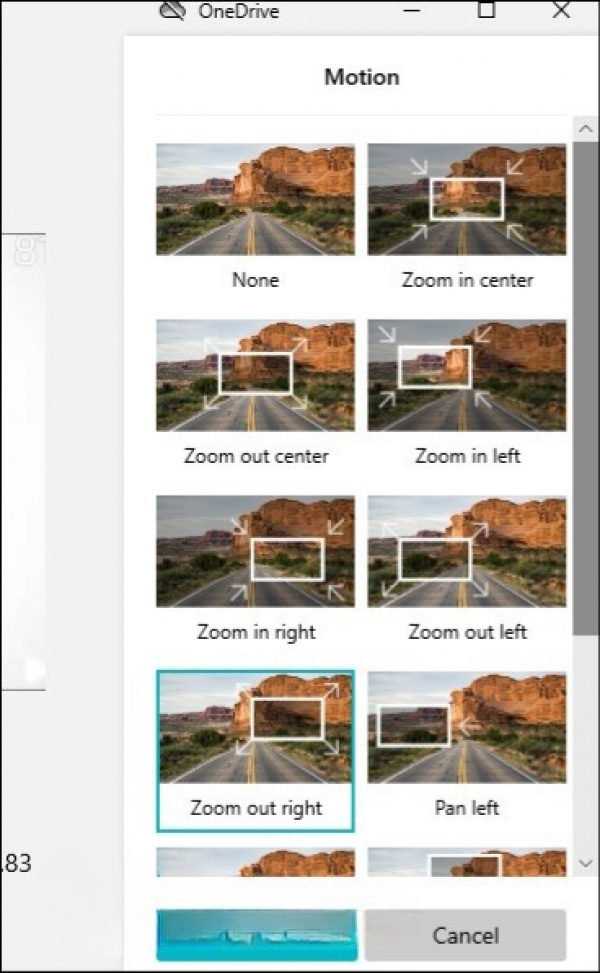
6. Add Motion Effects
Motion effects apply only to photos for creating slideshows. The effects include simple movements like up/down/left/right and zoom in/out.
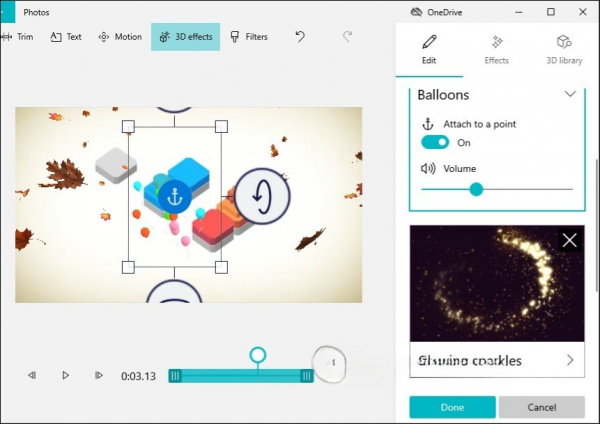
7. Add 3D Effects to a Video
Click 3D Effects to add effects. Choose an effect from the list and edit it as instructed.
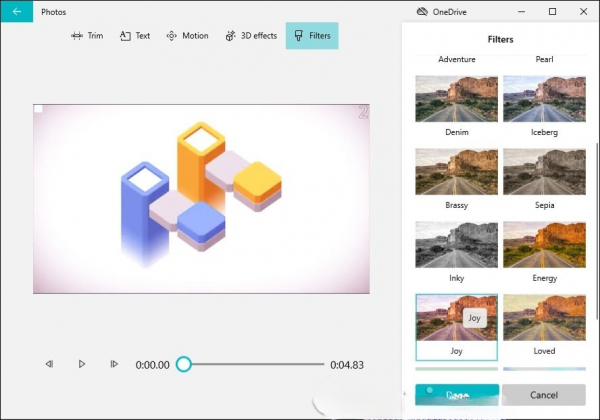
8. Change the Color Filter for a Video
Click Filter to display a list of color filters for the video.
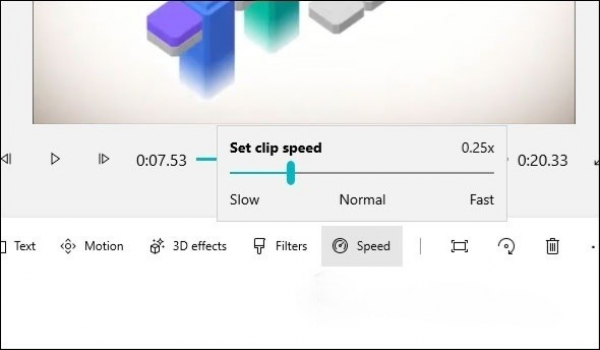
9. Adjust Video Speed
Select the video and click Speed. Choose to speed up or slow down the video.
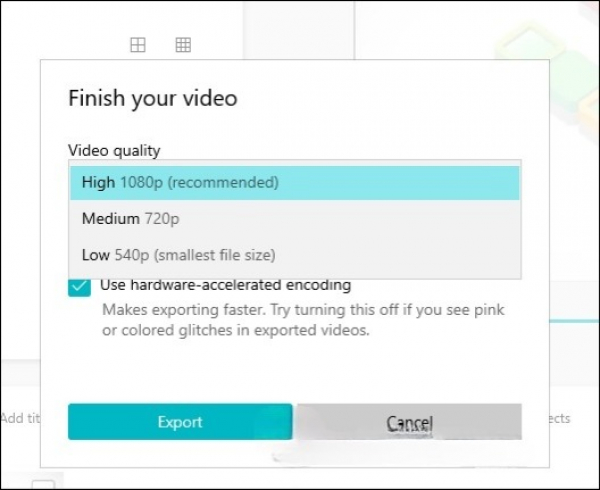
10. Export Edited Videos on Photos
After editing, click Finish video. Choose the video quality and click Export.